
Field codes are useful placeholders for data that may change in your document. You can also use them to automate certain aspects of your document. Field codes are inserted for you when you use Word features like page numbers or table of contents, but you can insert field codes manually for other tasks such as performing calculations or filling in content from a data source.
These steps work for inserting any field code in Word. For a list of all field codes with detailed information about each, see List of field codes in Word.
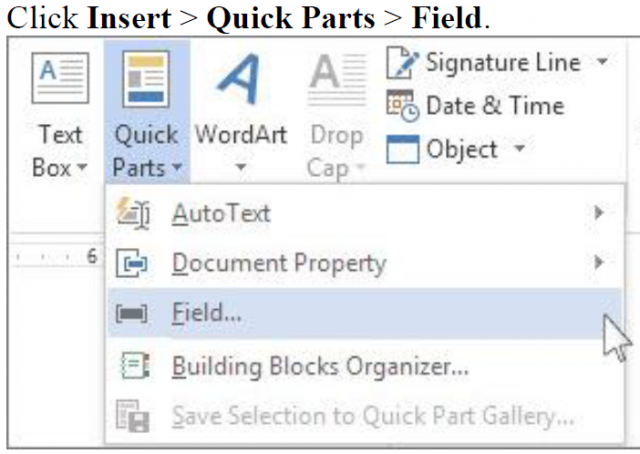
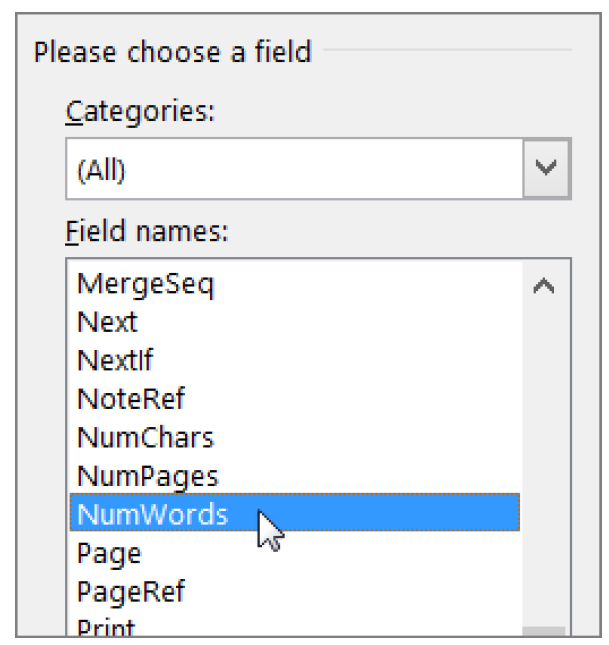
Follow the steps below to insert a field in your document:
Follow these steps to edit your field:
For information about the properties and options available for a particular field, see List of field codes in Word.
A little about Field Code Syntax:
Press Alt+F9 to switch between viewing field codes and viewing field results in your document. When you view a field code, the syntax will look like this:
FIELD NAME Properties Optional switches >
Beware: Because field codes can be visible to anyone reading your document, be certain that the information you place in field codes is not information that is sensitive or that you would like to be private.
So, should you display field codes or not> That is the question:
By default, Word displays your field results seamlessly with the content of your document such that someone reading your document is unaware that part of the content is in a field. However, fields can also be displayed with a shaded background, to make them more visible in the document.
Follow the steps below to learn how:
When the field shading option is set to When selected, the field displays a gray background when you click within the field. However, the gray shading does not indicate that the field is selected. When you select the field by double-clicking or dragging the mouse, highlighting that indicates selection is added to the gray shading.
So now you may wonder how your fields will be updated right?
By default, Word automatically updates your fields when a document is opened. In this way, the information stays current. There are, however, situations where you may not want this to happen. For instance, you may want the date in your header to reflect a particular date rather than automatically updating to the current date every time your document is opened.
Fields can also be updated by right-clicking a field and then clicking Update Field or by clicking in a field and then pressing F9.
To manually update all the fields in the main body of a document, press Ctrl+A, and then press F9. Fields in headers, footers, or text boxes must be updated separately. Click within the header, footer, or text box, press Ctrl+A, and then press F9.